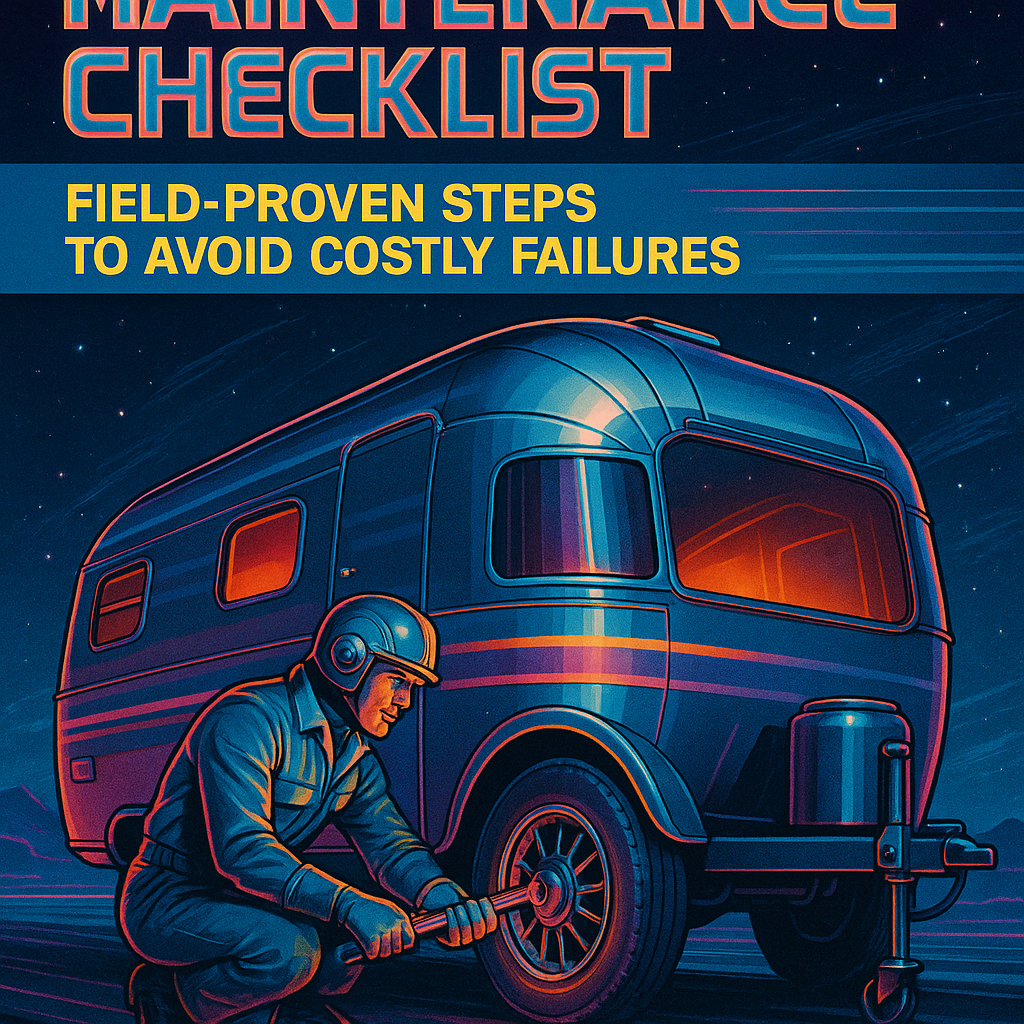
Trailer Maintenance Checklist: Field-Proven Steps to Avoid Costly Failures
I remember a Thursday in late spring when a bent axle on a jobsite trailer stopped a three-man crew cold. We wasted a day, lost a delivery window, and scrambled to cover labor. That one failure paid for a better routine for the rest of the season.
A simple trailer maintenance checklist keeps small problems from turning into full-day stoppages. This article walks through a practical, day-to-day approach to inspections and repairs that contractors and fleet owners can actually use.
Why a trailer maintenance checklist matters on the job
Trailers are tools you rely on every day. A loose lug, a worn tongue jack, or low tire pressure rarely happens at a convenient time. Those small issues compound into downtime, higher repair costs, and safety hazards.
A checklist does three things. It forces consistency. It creates a quick audit trail. It lets you catch wear before it becomes a failure. The trick is to build a checklist you will use, not one that lives in a drawer.
Build a practical trailer maintenance checklist you will follow
Start with a short, walk-around checklist you can complete in five minutes. Keep it laminated inside a clipboard or on a weatherproof tag attached to the trailer tongue. Make entries binary: pass, observe, or fail.
Focus on the failure modes that stop work. Tires and wheels should be first. Check tread, sidewalls, and inflation. Look for nails, cuts, and uneven wear. Verify lug nuts are tight and note any missing hub cap or grease seal leaks.
Inspect lights and wiring next. A single broken taillight can get you pulled over and cost time. Walk the length of the trailer with someone operating the vehicle lights so you can confirm brake, turn, and marker lights work.
Examine coupler, safety chains, and breakaway switch. A cracked coupler or frayed chain is an immediate red tag. Test the coupler’s locking mechanism and confirm the safety chain routing is correct.
Look under the trailer for oil or grease leaks at hubs, hydraulic fittings, or axle seals. A little grease on a bearing cap can hide a developing seal failure. Note any abnormal smells like burnt grease — they point to overheating bearings.
Check suspension and frame for cracks and loose fasteners. Pay special attention at welds, spring hangers, and where the tongue attaches to the frame.
Finally, test floor integrity and tie-down points. Wood floors rot from the top down. A quick probe with a pry bar near the rear and over wheel wells will tell you whether the floor will hold cargo under load.
Schedule inspections and simple service tasks by interval
Daily: Complete the quick walk-around. Record any observations and tag the trailer if it needs repair before the next use.
Weekly: Verify tire pressures with a gauge, check wheel bearings for play, and cycle electrical connectors to remove corrosion. Lubricate couplers and moving parts where specified.
Monthly: Remove wheel covers and inspect bearings and seals. Clean and inspect suspension components and re-torque wheel studs to manufacturer specs.
Seasonally: Before heavy-season runs inspect axle alignment, brake adjustments, and floorboards thoroughly. Replace worn tires and broken lights. Paint or treat any exposed metal to prevent corrosion.
Record each action. A short maintenance log taped inside the trailer tells the story of what was done and when. That record matters when you need to plan parts or justify downtime decisions.
Common mistakes that turn small issues into big repairs
Ignoring a slow leak in a tire. It costs little to replace a tire early. Let it run down and the wheel can overheat and ruin bearings.
Skipping grease intervals. Bearings run hot without proper lubrication. A failed bearing can wreck a hub and put you out of service for days.
Overlooking electrical ground points. Many intermittent lighting failures trace back to a poor ground connection. Clean grounds and secure connections prevent repeated visits to the shop.
Delaying frame repairs. A crack at a suspension hanger grows quickly under load. Welding the first crack is cheaper and faster than replacing an entire crossmember later.
Failing to standardize parts. Keep a small inventory of the fast-moving spares you actually use. That way repairs happen on-site instead of waiting for delivery.
Leadership routines that keep crews accountable and safe
Consistent, short pre-trip routines stick when a leader enforces them. Make the inspection part of the job start, not an optional add-on. Walk the lot together once a week and review a few recent log entries.
Teach operators to flag issues immediately rather than trying to workaround them. That culture reduces risk and keeps trailers in the field longer.
If you want a quick primer on building crew routines and accountability, practical advice from experienced operational leaders can help refine how you assign inspection ownership and follow-up. Read a short guide on core leadership principles to structure those routines so they survive staff changes.
Closing insight: make the checklist about uptime, not paperwork
A trailer maintenance checklist succeeds when it prevents the next failure. Keep it short, focus on the few items that stop work, and build a simple record-keeping habit. Use scheduled, bite-sized service tasks to turn reactive repairs into planned maintenance.
The payoff is predictable uptime, lower emergency repair costs, and crews that finish the day on schedule. Start with a five-minute walk-around, commit the results to a log, and refine the list after two months. You will notice fewer surprise breakdowns and more time moving cargo instead of chasing fixes.
Leave a Reply